Plugin mysensors
The MySensors plugin allows the use of equipment using the MySensors protocol. The MySensors equipments are Arduino-based sensors or actuators and a NRF24L01 RF chip for communication You can find more information on MySensors: https://www.mysensors.org
This protocol makes it possible to manage its own DIY sensors in a wireless network such as the ZWave network
There are three types of MySensors Nodes:
- Sensor nodes - continuously read the status of all attached sensors and pass the sensor data through the radio network back to the gateway.These puppies have the option to sleep most of the time if you want to run them on battery.
- Repeater-sensor nodes - must stay awake in order to pass messages from its child sensor nodes.A repeater-node can optionally include direct-attached sensors and report their sensor data to the gateway. In most setups you will probably not need any repeater-nodes as the transmitter range for the most basic radio is about 20-60 meters.
- Gateway - passes data from nodes to your home automation controller as well as from the home automation controller back to nodes.You can attach sensors directly to the gateway as well.
The radio gateway is typically connected to some kind of Controller. The purpose of the controller is:
- Send configuration parameters to the sensors in the radio network (currently time, and unique sensor ids)
- Keep track of the most recent data reported by sensors and actuators.
- Provide status information back to sensors and actuators; e.g. the current state (on/off/loadLevel) for a light.
- The controller usually provides a user interface controls for actuators.
- Executes predefined schedules or scenes; e.g. at sunset turn on the garden lights.
In our case the controller is domogik
Purpose
The MySensors plugin allows:
- Using MySensors via a serial gateway.
- Automatic creation of Domogik devices for nodes and sensors when they are started (presention mode)
- Received sensors value and update Domogik device sensor
- Send command for somme type of sensors like switch
To use the functionality of automatic creation of devices in Domogik, it will be necessary to inform in the presentation () function of Arduino sketch like this:
void presentation()
{
  sendSketchInfo("DHT22", "1.5");
  present(CHILD_ID_TEMP, S_TEMP, "Bathroom");
  present(CHILD_ID_HUM, S_HUM, "Bathroom");
  present(CHILD_ID_LIGHT, S_LIGHT_LEVEL, "Bathroom");
}
Three Bathroom devices with one or more sensors will automatically be created in Domogik when the Arduino node is restarted.
Warning
- For now, it is a first version of the plugin that does not manage all the possibilities of the protocol.
- The plugin only supports the serial gateway and the latest version of the v2.x API
- Node sensor must be set with a unique ID, plugin don’t send it for now.
Dependencies
- Python dependancy : pyserial (installed with Domogik)
Create an udev rule
You can create a udev rule for the MySensors Serial Gateway device. You can find sample udev rules in the udev folder of this plugin.
You just need to adapt and copy the choosen sample file in the folder /etc/udev/rules.d/ and unplug/plug the Gateway.
Plugin configuration
You must configure the serial device for the Gateway:
| Key | Type | Description |
|---|---|---|
| gw_device | String | Serial MySensors Gateway Device (/dev/ttyUSBx) |
Create the devices
You can manually create the devices as in the other plugins with the information below, or better let the plugin create the devices at the Presentation of each Node.
After automatic creation of a device, you can still change the Name if you want.
Note
Presentation is executed only at the boot of the arduino node.
Device parameters configuration for a node
One parameter are needed
| Key | Type | Description |
|---|---|---|
| nodeid | String | Uniq nodeid (ex: 44) |
Device parameters configuration for a sensor node
One parameter are needed
| Key | Type | Description |
|---|---|---|
| nodesensor | String | Uniq nodeid.childid (ex: 44.1) |
Nodeid it’s a uniq ID for a Arduino Node
Childid it’s a uniq ID for each sensor for one Node
In this sketch example for a DHT22+LDR Node:
#define MY_NODE_ID 46

#define CHILD_ID_TEMP 0
#define CHILD_ID_HUM 1
#define CHILD_ID_LIGHT 2

present(CHILD_ID_TEMP, S_TEMP, "Bathroom");
present(CHILD_ID_HUM, S_HUM, "Bathroom");
present(CHILD_ID_LIGHT, S_LIGHT_LEVEL, "Bathroom");
Which means that there will be a Node 46 with 3 sensors named 46.0 type S_Temp, 46.1 type S_HUM and 46.2 type S_LIGHT_LEVEL.
Result of automatic device creation

Start the plugin
You can now start the plugin (start button) and use the created devices.
Log example for new Node:
2017-03-24 17:24:11,044 domogik-mysensors DEBUG Received I_LOG_MESSAGE: 'TSF:MSG:READ,44-44-0,s=1,c=1,t=1,pt=7,l=5,sg=0:55.8'
2017-03-24 17:24:11,245 domogik-mysensors WARNING New sensor node '44.1' (type = 'V_HUM', value = '55.8') waiting Node PRESENTATION for creating device !
2017-03-24 17:24:11,446 domogik-mysensors DEBUG Received I_LOG_MESSAGE: 'TSF:MSG:READ,44-44-0,s=3,c=1,t=23,pt=7,l=5,sg=0:74.4'
2017-03-24 17:24:11,647 domogik-mysensors WARNING New sensor node '44.3' (type = 'V_LIGHT_LEVEL', value = '74.4') waiting Node PRESENTATION for creating device !
Log example in PRESENTATION Node with device creation:
2017-03-24 17:26:02,641 domogik-mysensors INFO Receive PRESENTATION message for Node 44.255 type=S_ARDUINO_NODE version='2.1.1'
2017-03-24 17:26:02,641 domogik-mysensors INFO Create new Domogik 'mysensors.node' device for node '44'
2017-03-24 17:26:06,302 domogik-mysensors INFO Receive PRESENTATION message for Node 44.0 type=S_TEMP Name='Bureau'
2017-03-24 17:26:06,302 domogik-mysensors INFO Create new Domogik 'mysensors.s_temp' device for sensor node '44.0'
2017-03-24 17:26:06,759 domogik-mysensors INFO Receive PRESENTATION message for Node 44.1 type=S_HUM Name='Bureau'
2017-03-24 17:26:06,759 domogik-mysensors INFO Create new Domogik 'mysensors.s_hum' device for sensor node '44.1'
2017-03-24 17:26:08,101 domogik-mysensors INFO Receive PRESENTATION message for Node 44.2 type=S_LIGHT_LEVEL Name='Bureau'
2017-03-24 17:26:08,101 domogik-mysensors INFO Create new Domogik 'mysensors.s_light_level' device for sensor node '44.2'
Set up your widgets on the user interface
You can now place the widgets of your devices features on the user interface.
Some Nodes on test
- Gateway with nRF24L01p-PA-LNA RF module with antenna and Arduino Nano

- Sensor Node with classic nRF24L01p, ATmega368p, LDR and DHT22 on battery
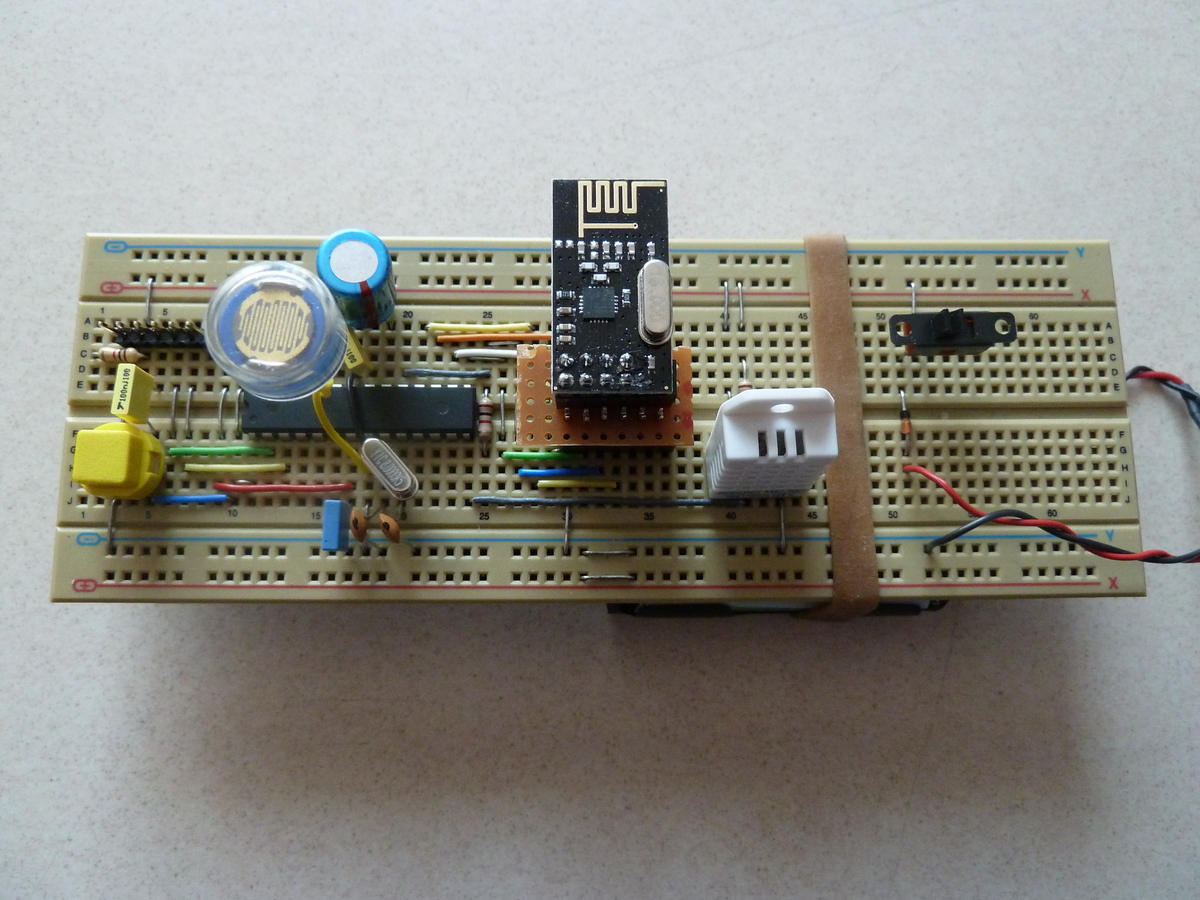
- Relay Node with classic nRF24L01p
to come up